
Project overview
Based on EHX Electric Mistress, adapted for the right functionality at 9v. It offers very warm and rich flanging while maintaining low noise operation and flexibility in its controls.
Introduction
This pedal features the following additions to the original circuit:
- A buffered clock signal to the BBD
- FX loop for through-zero flanging
- Output gain stage to match or exceed the bypass volume.
Controls
- Range
- Feedback
- Rate
For further analysis on this circuit take a look at this thread on Free Stomp Boxes Forum.
For any technical questions regarding this build don’t forget to check out our Facebook Group and our forum at Free Stomp Boxes.
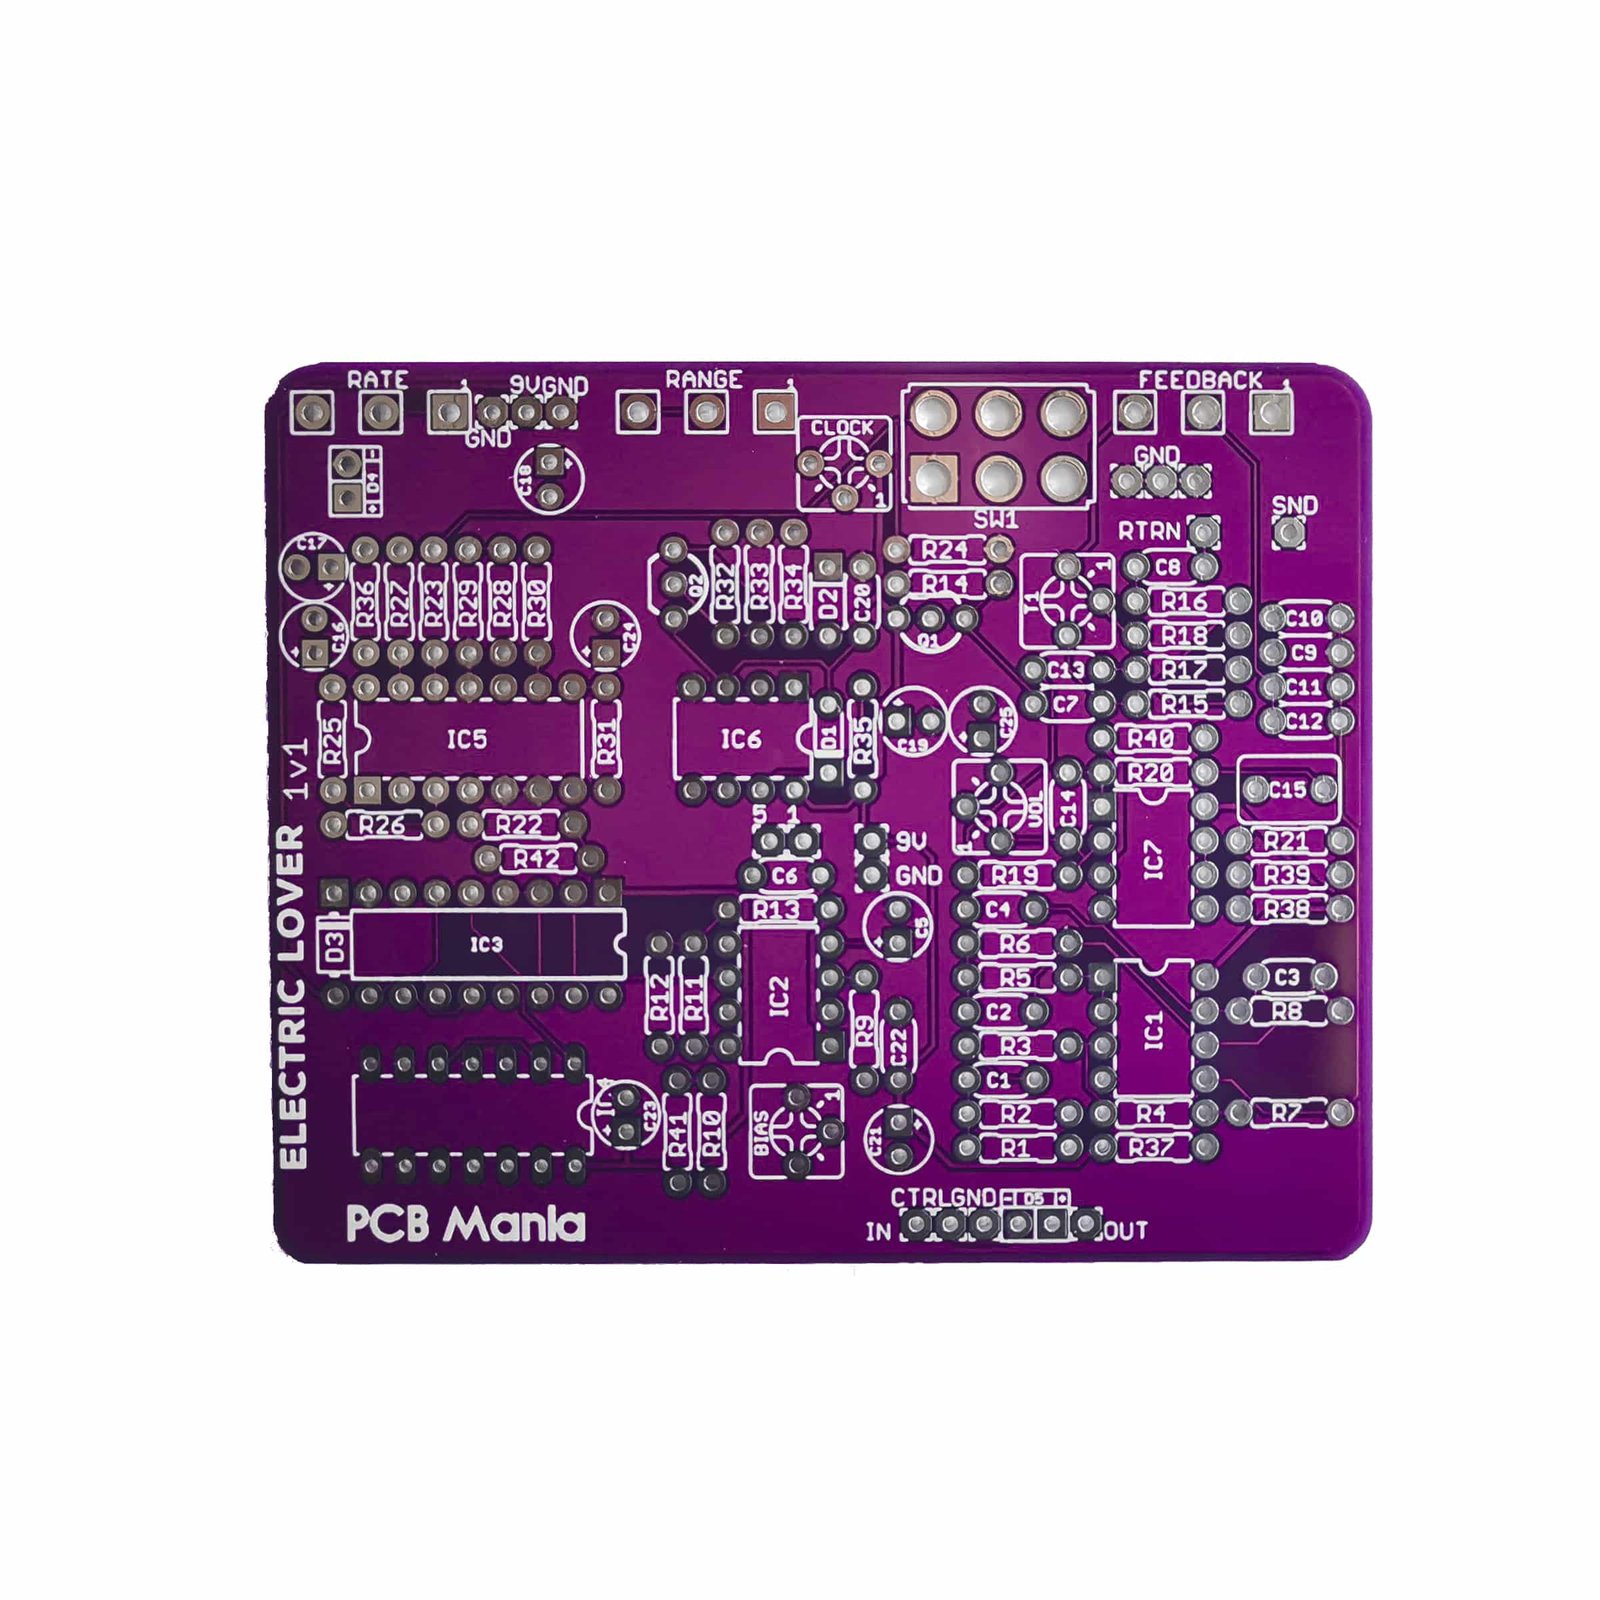
Electric Lover Flanger 1.1v – Building Docs
Electric Lover Flanger 1v – Building Docs
Electric Lover Flanger 1v – Schematic
Electric Lover Flanger – Drilling templates
IC VOLTAGE measured on a 9.4v source
| IC1 | 4558 | IC2 | MN3007 | IC3 | CD4049 | IC4 | CD4013 | IC5 | LM324 | IC6 | LM311 | IC7 | 45582 | ||||||
| 1 | 4.59 | 1 | 9.13V | 1 | 9 | 1 | 4.53 | 1 | varies | 1 | 0 | 1 | 4.55 | ||||||
| 2 | 4.59 | 2 | ~4.45 | 2 | 4.5 | 2 | 4.53 | 2 | ~4.2 | 2 | varies | 2 | 4.55 | ||||||
| 3 | 4.18 | 3 | ~4.85 | 3 | 4.5 | 3 | varies | 3 | varies | 3 | varies | 3 | 4.55 | ||||||
| 4 | 0 | 4 | 47mV | 4 | 4.5 | 4 | 0 | 4 | 9 | 4 | 0 | 4 | 0 | ||||||
| 5 | 4.51 | 5 | 0V | 5 | 4.53 | 5 | 4.5 | 5 | 0 | 5 | 9.14 | 5 | 4.55 | ||||||
| 6 | 4.55 | 6 | ~4.45 | 6 | 4.5 | 6 | 0 | 6 | 0 | 6 | 9.14 | 6 | 4.55 | ||||||
| 7 | 4.53 | 7 | ~4.2 | 7 | 4.5 | 7 | 0 | 7 | 7.8 | 7 | varies | 7 | 4.55 | ||||||
| 8 | 9.13 | 8 | ~4.2 | 8 | 0 | 8 | 0 | 8 | varies | 8 | 9.14 | 8 | 9.14 | ||||||
| 9 | 4.5 | 9 | 0 | 9 | varies | ||||||||||||||
| 10 | 4.5 | 10 | 0 | 10 | varies | ||||||||||||||
| 11 | 4.5 | 11 | 0 | 11 | 0 | ||||||||||||||
| 12 | 4.5 | 12 | 9 | 12 | ~4.2 | ||||||||||||||
| 13 | ignore | 13 | 0 | 13 | ~4.2 | ||||||||||||||
| 14 | 4.5 | 14 | 9 | 14 | varies |
Be the first to review “Electric Lover Flanger”
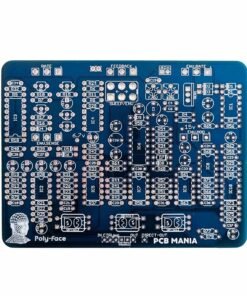
Related products
New


Reviews
There are no reviews yet.